LiteSpeed Web Server
The LiteSpeed Web ADC stack is HTTP/3 ready with the feature support enabled by default. Herewith, a public IP address is required to bypass the Shared Load Balancer and work directly with the server over HTTP/3.
style="text-align: left;">![]() The LiteSpeed Web Server is a high performance and low memory consumption PHP web server with high scalability. It is built based on the best practices of the PHP hosting, utilizing the benefits of both Apache and NGINX implementations, and integrating its own optimizations.
The LiteSpeed Web Server is a high performance and low memory consumption PHP web server with high scalability. It is built based on the best practices of the PHP hosting, utilizing the benefits of both Apache and NGINX implementations, and integrating its own optimizations.
The feature-rich structure of the LiteSpeed application server includes the following specifics:
- an event-driven architecture (like NGINX) consumes fewer resources than Apache process-based model, ensuring better performance with minimum memory and CPU usage
- full compatibility with commonly used Apache features including mod_rewrite, .htaccess, and mod_security
- individual optimization for the most popular hosting platforms (e.g. WordPress, Magento, Drupal, Joomla, etc.)
- support of the caching plugins, cutting-edge anti-DDoS features, built-in WAF security, etc.
Note: Being a commercial software, LiteSpeed Web Server cannot be distributed freely, i.e. requires the license to be applied to the platform. If working with this application server, you’ll be charged an additional fee for usage of the license mentioned above.
The creation of a new LiteSpeed Web Server instance in the Cloudjiffy PaaS is straightforward.
- Log in to the dashboard and click the New Environment button at the top of the page.

2. Within the opened topology wizard, switch to the PHP engine tab and choose LiteSpeed Web Server as the application server.Configure any other required parameters (cloudlets, disk space, regions, etc.) and proceed with the Create button.
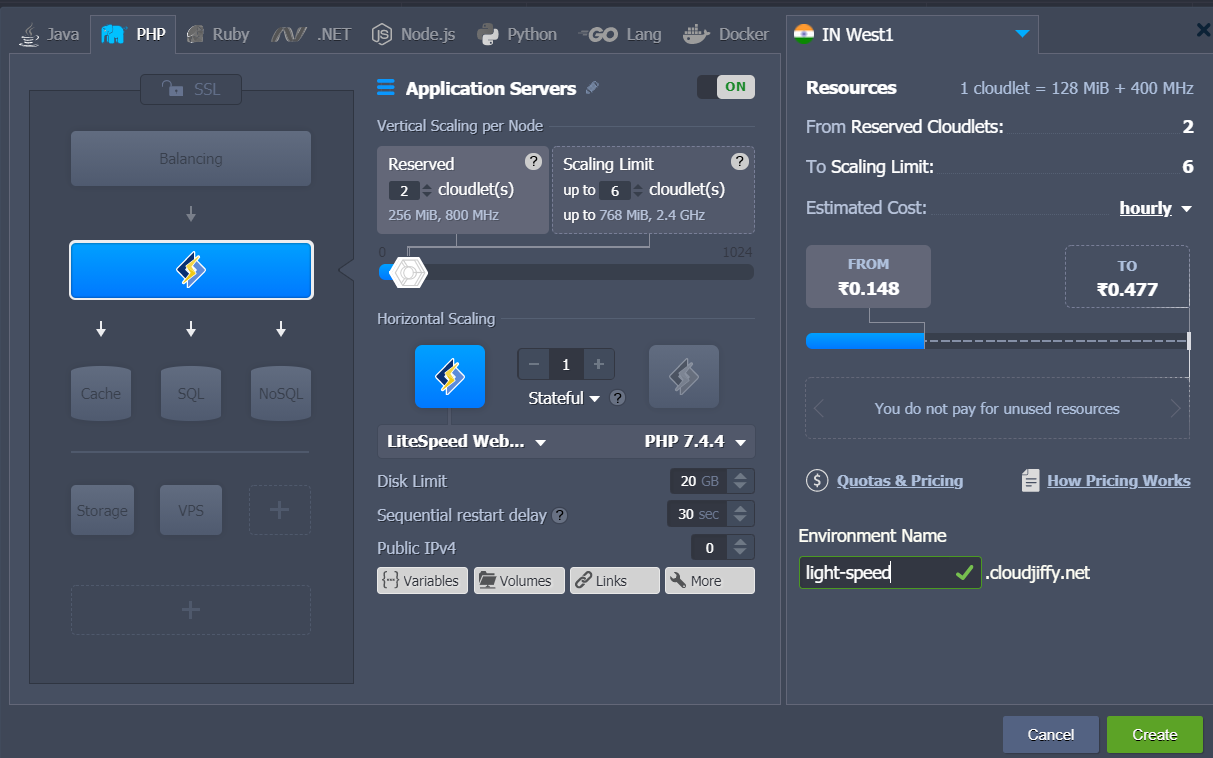
Tip: You may want to adjust some dedicated environment variables to customize the LiteSpeed Web Server:
- JELASTIC_AUTOCONFIG - enables (enabled, by default) or disables (disabled) autoconfiguration of the LiteSpeed worker processes count based on the allocated RAM and number of CPU cores
- REDIS_ENABLED - enables (true) or disables (false, by default) object caching with Redis
- WAF - enables (true) or disables (false, by default) Web Application Firewall with the Comodo default ruleset
3. After creation, you can view the default phpinfo data on the server by clicking Open in Browser next to the LiteSpeed server:

4. To start managing the server, please check the email for the litespeed admin access link and for the credentials.
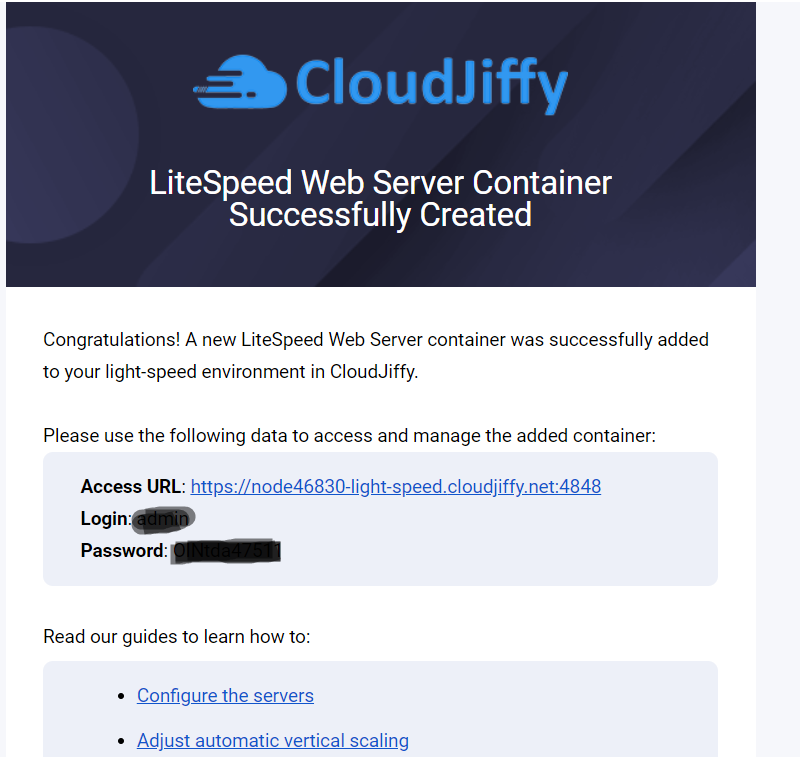
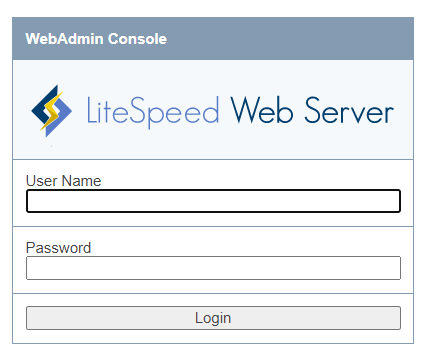
Click on the Access url from the email and enter the credentials(access credentials are sent via email after the node creation).
Note: There are some specifics while working with the Cloudjiffy PaaS implementation of the LiteSpeed via the admin panel:
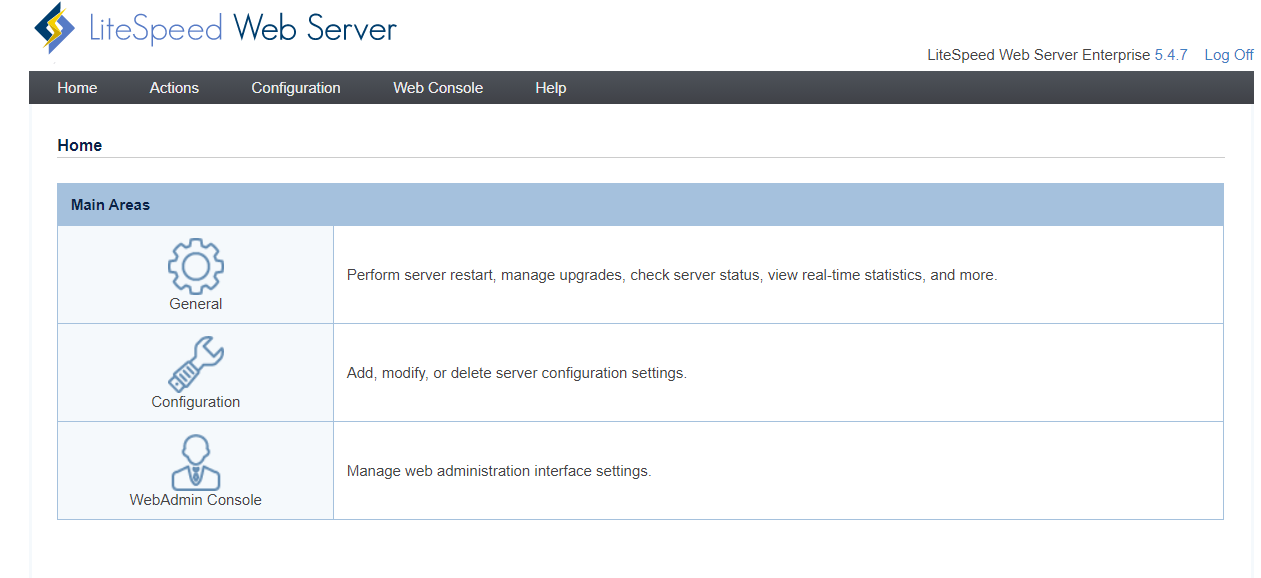
- To ensure container stability, the Cloudjiffy-native redeploy feature should be used instead of the Actions > Version Manager functionality
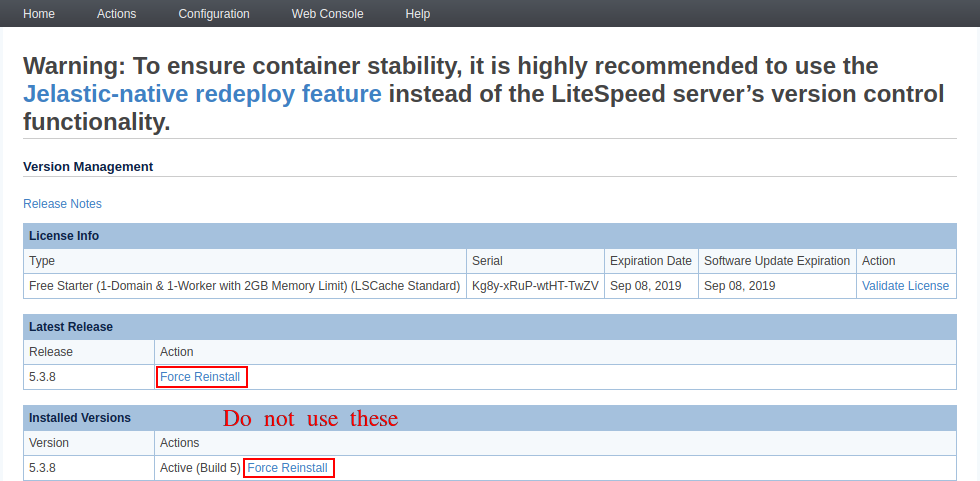
- The notification about the license key expiration in the Actions > Server Log Viewer should be ignored as the leasing is automatically managed by the platform

The application deployment process is the same as for any other Cloudjiffy application server.
License Pricing
Specifically for Cloudjiffy PaaS, there was created a more flexible pricing model for LiteSpeed servers that suits dynamic cloud environments. You can start with free licenses using up to 2 GB per environment. Then the price will depend on the tiers according to the RAM usage.
Please choose the right plan from the multiple options we have. Click here for pricing